RAIDER KORMORAN 7 SHIPS SUNK - KORMORAN SCHIFF 41
1)RAIDER KORMORAN SCHIFF 41
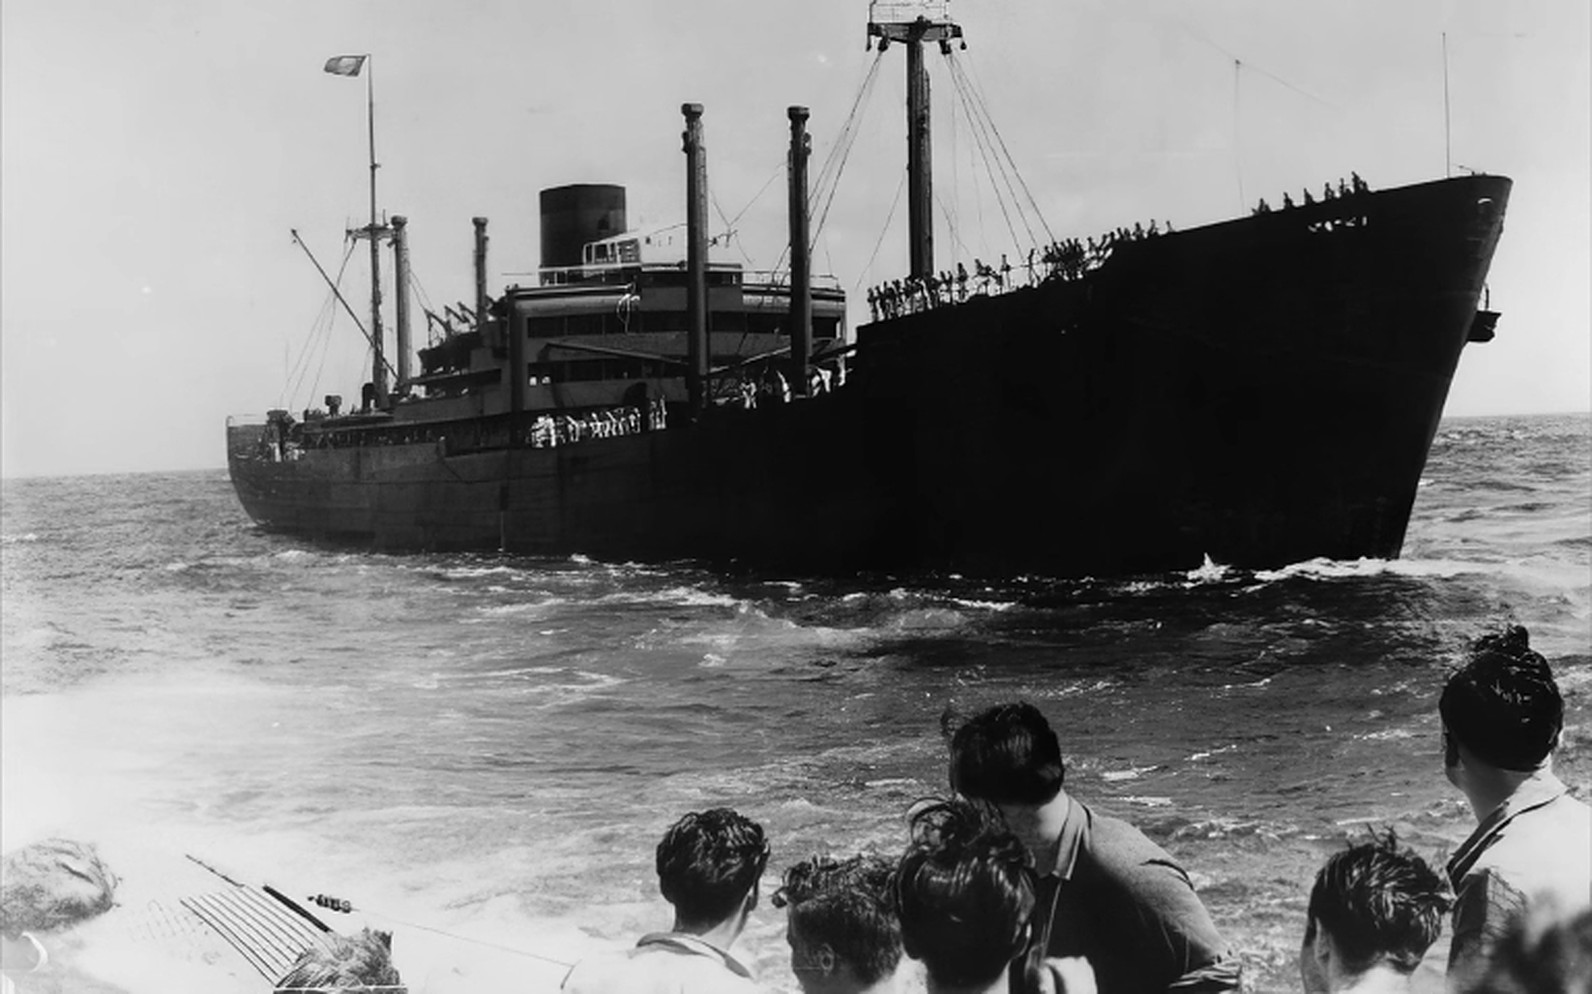
Photo Bundesarchiv_Bild_146-1985-074-27,_Hilfskreuzer_Kormoran.jpg (1592×994) (wikimedia.org)
Built 1938 as Steiermark
Tonnage 8,736 GRT / 12,305 DWT
Complement 397
Aircrafts 2 Arado Ar 196 Seaplanes
82 Dead
315 Survivors went to captivity
The German auxiliary cruiser Kormoran (HSK-8) was a Kriegsmarine (German Navy) merchant raider of World War II. Known to the Kriegsmarine as Schiff 41, to the Allied navies she was Raider G. Kormoran is known best for the sinking of Australian light cruiser HMAS Sydney with all 645 crew in November 1941, during a battle off
The abbreviation HSK comes from Handelsstörkreuzer; German for "commerce disruption cruiser". The ship is sometimes referred to as DKM Kormoran, where DKM stands for Deutsche Kriegsmarine, but the Germans themselves did not use this prefix. Kormoran was built by Germaniawerft of Kiel and launched on 15 September 1938 as the merchant ship Steiermark of HAPAG, the Hamburg-Amerika Line. Renamed Kormoran ( German for Cormorant), she entered service as a Kriegsmarine Auxiliary Cruiser on 9 October 1940, commanded by Korvettenkapitan (Lieutenant Commander) Theodor Detmers. When in service, Kormoran displaced 8,736 tons and had a top speed of 18-19 knots.
The ship was a prime example of the relatively successful "disguised freighter" technique used in commerce raiding by the Kriegsmarine in World War Two. The largest of the German raiders, Kormoran operated in the South Atlantic and the Indian Ocean. In common with other auxiliary cruisers, she had substantial (hidden) armament: six
Successful raiding depended on surprise and disguise. On 19 November 1941, the Kormoran encountered HMAS Sydney in the Indian Ocean at 26°9′50″S 111°4′25″E, off the coast of Western Australia between Carnarvon and Geraldton. At the time, the German raider was flying a false flag while posing as the Dutch freighter Straat Malakka, with a black hull and black funnel. Captain Detmers hoped to pass by undetected, but
According to the surviving crewmen of Kormoran, the Australian warship was not expecting battle, nor fully prepared for it, as her secondary guns were unmanned and therefore not trained on Kormoran. Taken by surprise,
Some of the Kormoran men advised that
Explosive charges were placed to scuttle the ship and the surviving crew took to the boats, with Detmers the last to leave. A further 40 men, mostly wounded, lost their lives when their lifeboat capsized in the rough seas. Shortly after midnight, the charges were set; at 00:35, the mines exploded and Kormoran went down rapidly by the stern. Detmers and about 320 of his crew (including 3 Chinese volunteers) were rescued from their lifeboats and liferafts by five ships: Aquitania, Trocas, Koolinda, Centaur and Yandra. A further two lifeboats came ashore just north of Carnarvon at
Nearly all spent the remainder of the war in an Australian prisoner of war camp, from which they would not be released until January 1947. The fact that the only survivors of the battle were from the Kormoran has allowed the battle between Sydney and Kormoran to become the subject of much controversy, speculation and conspiracy theory. Eventually, it was realised that Kormoran had inflicted sufficient damage on
An analysis of the genesis and development of the conspiracies surrounding the loss of
.jpg)
HMAS Sidney. Photo Sydney_cruiser_SLV_H91.108_1019.jpg (4559×3079) (wikimedia.org)
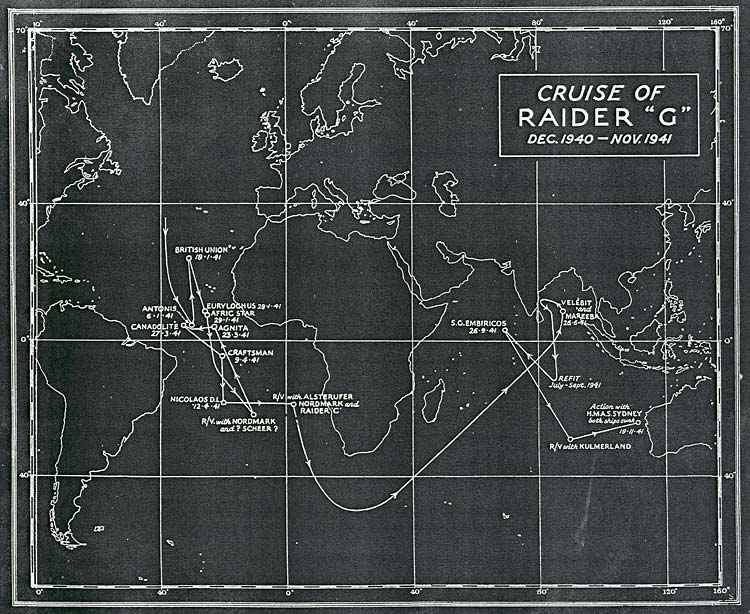
The map above shows the long cruise made by Kormoran throughout Atlantic and Indian Oceans. Photo. http://vrroom.naa.gov.au/print/?ID=19471
Raider Kormoran sank 6 ships in the south Atlantic with a total tonnage of 69,934 DWT.
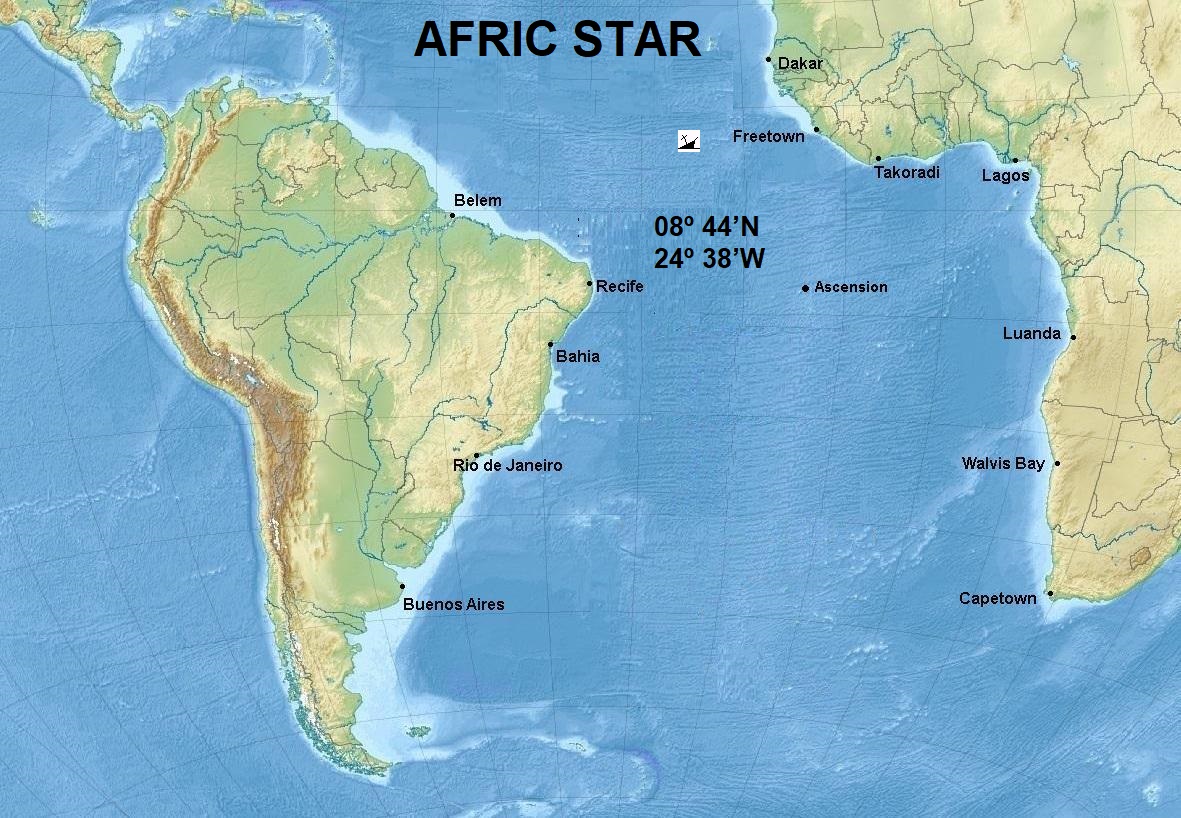

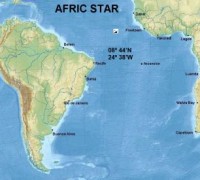
 AFRIC STAR
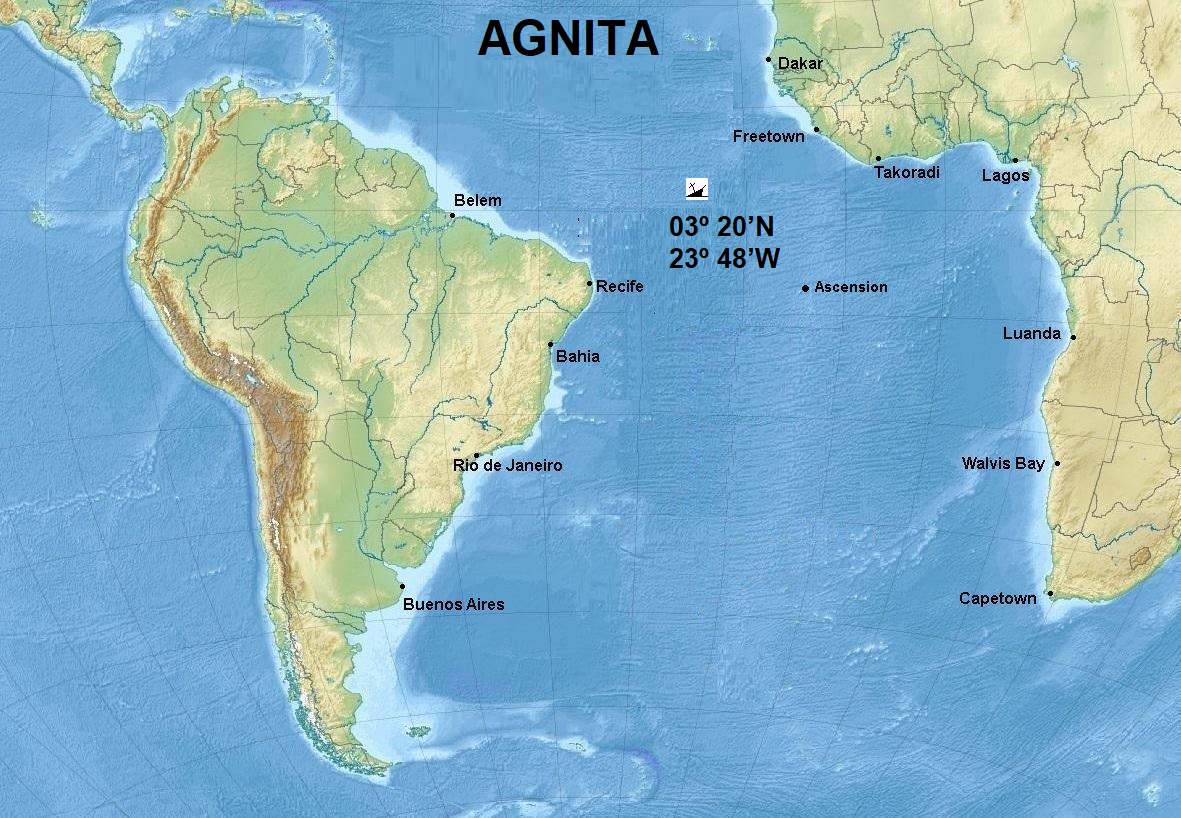
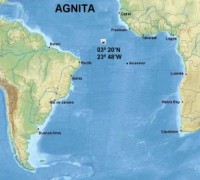
AGNITA
.jpg)
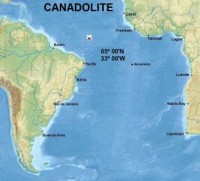
CANADOLITE Sister ship Montrolite


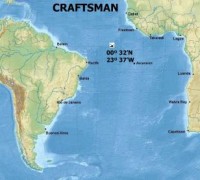
CRAFTSMAN
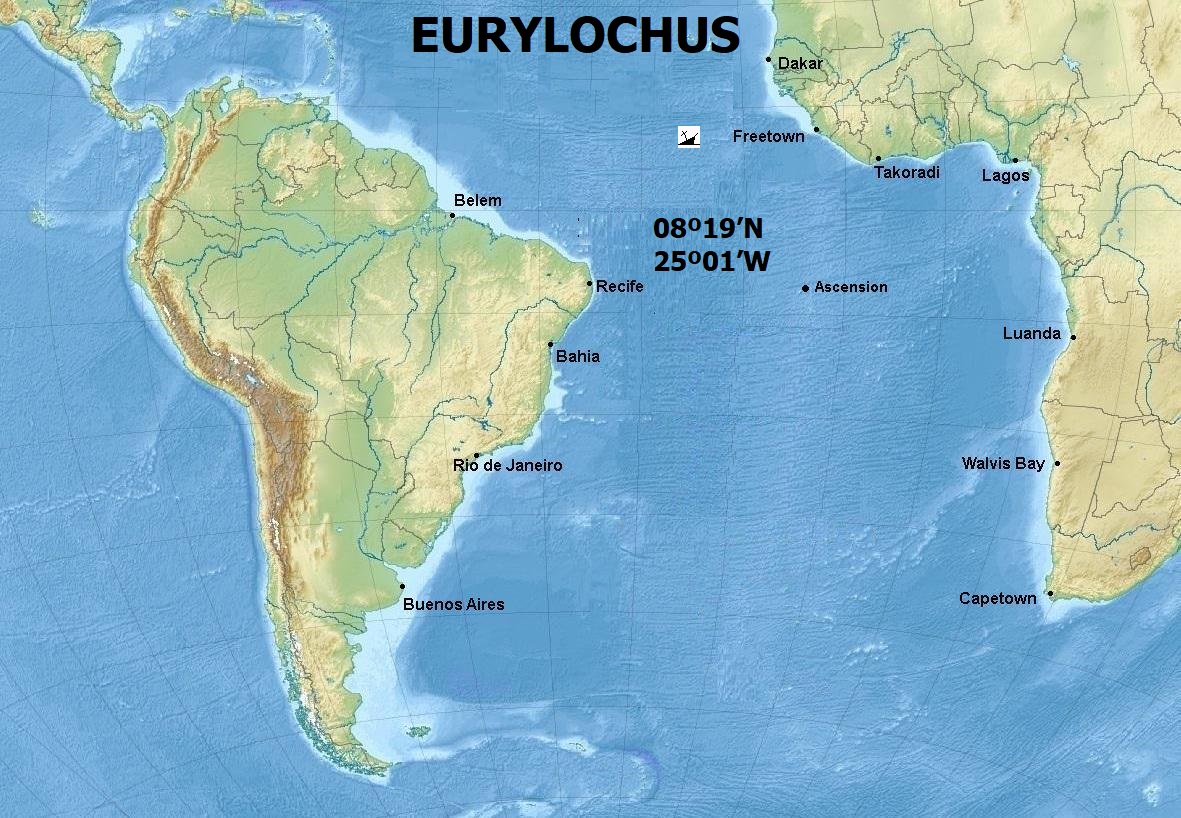
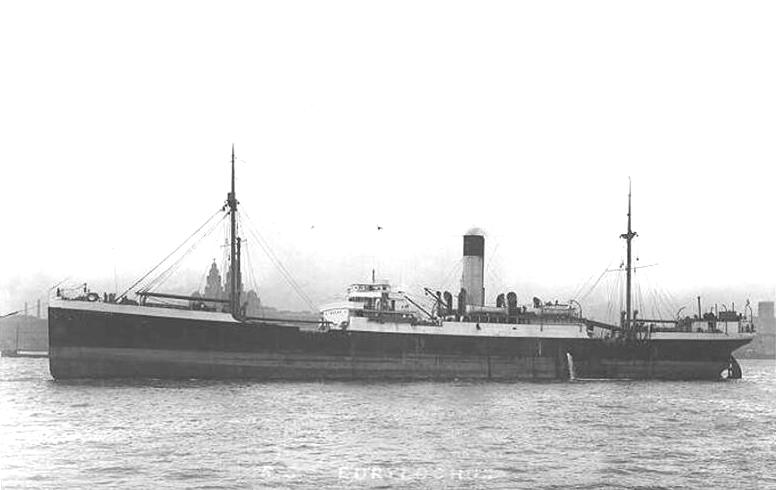
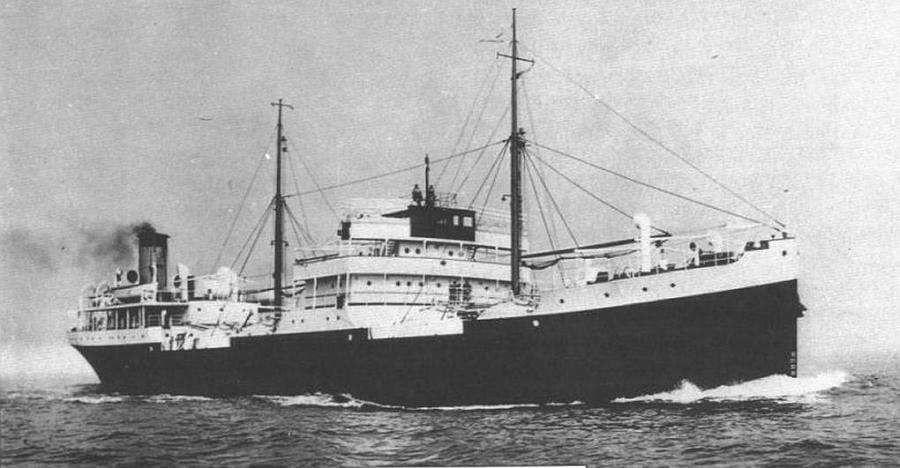
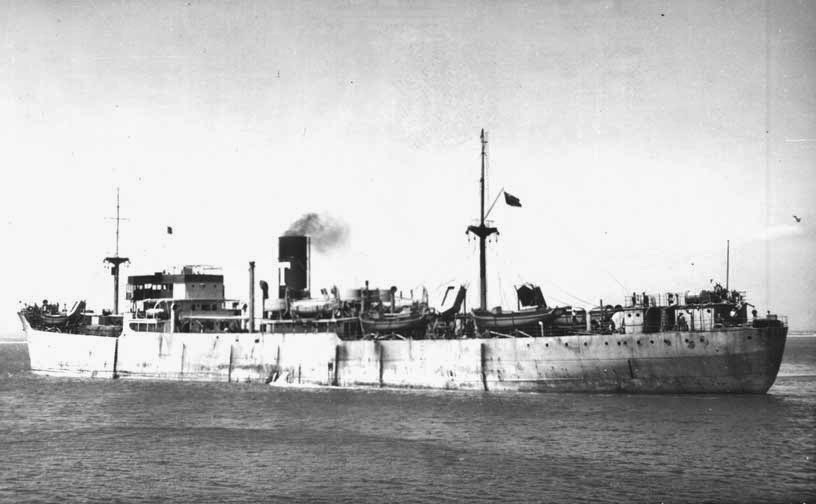
 EURYLOCHUS
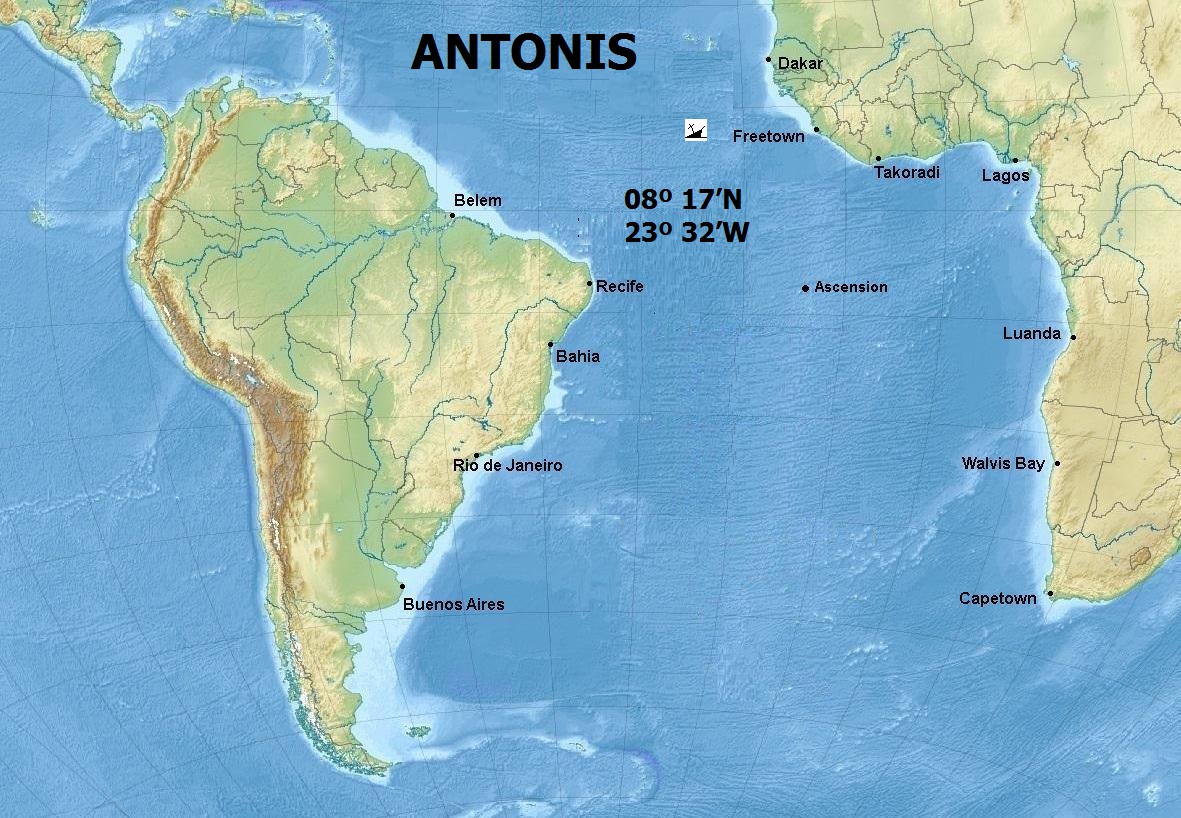

 ANTONIS
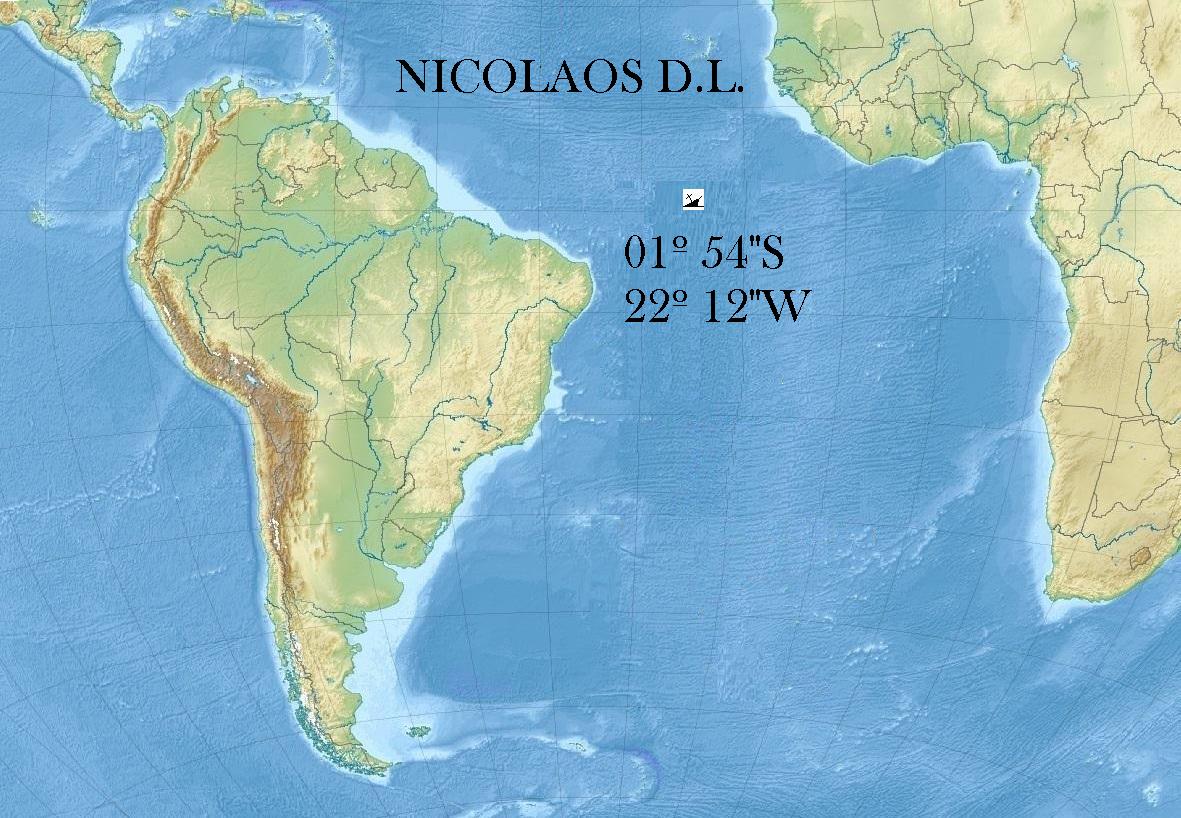
NICOLAOS D L

Detail of one 5,9 inch deck gun of Kormoran seen on April 7 2008 off the coast of Western Australia. Photo. https://www.navyhistory.org.au/wp-content/uploads/Kormoran-084-HSK-Kormoran-.gif
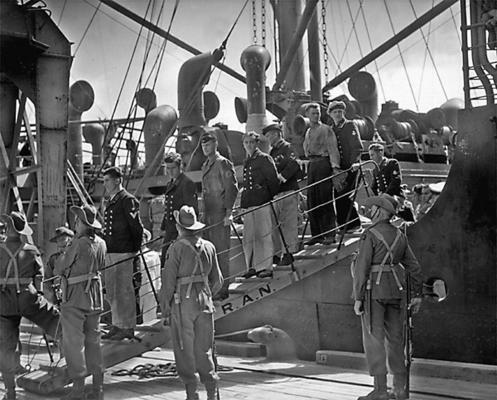
Survivors from raider Kormoran seen upon their arrival in Australia. Photo. https://www.smh.com.au/ftimages/2008/04/09/1207420466257.html
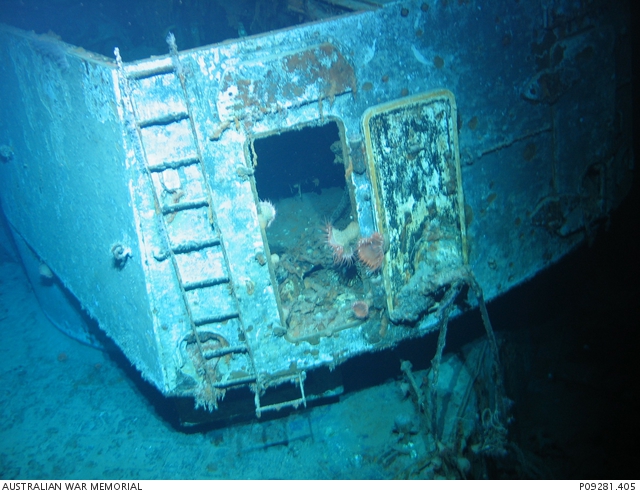
HMAS Sydney wreck of rear of B turret showing hatch open and top missing. Photo https://www.awm.gov.au/collection/C1257596
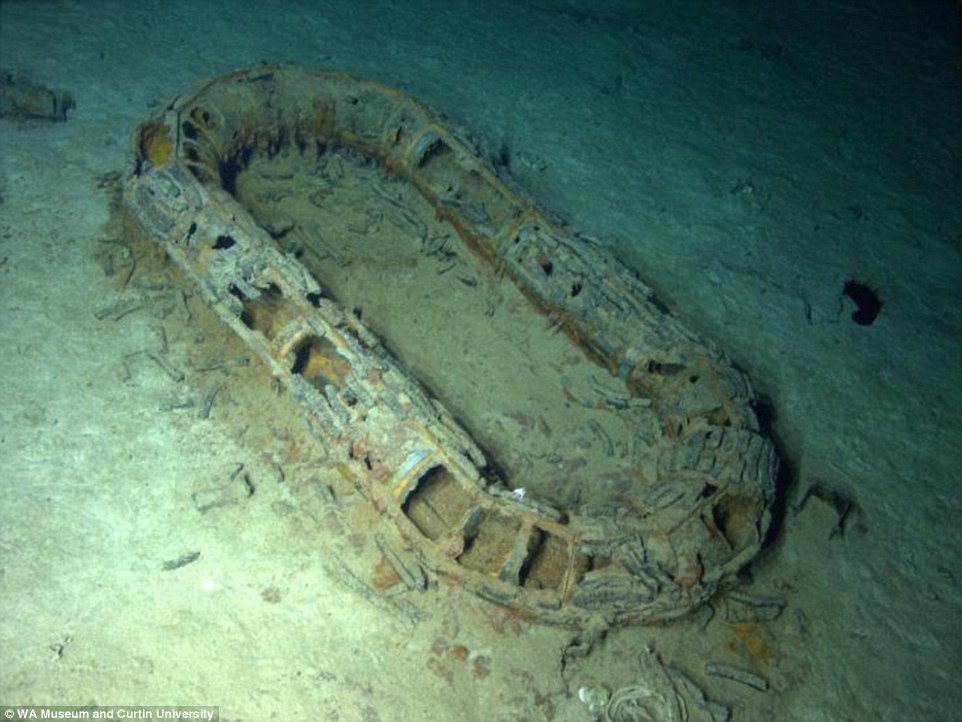
Picture of one of Sydney's Carley float resting in the seabed. Photo https://www.navyhistory.org.au/wp-content/uploads/Sydney-Carley-float-high-.gifhttps://www.navyhistory.org.au/wp-content/uploads/Sydney-Carley-float-high-.gif